Building a raised garden bed is a straightforward landscaping project requiring just a few hours of work. They’re a great way to make the most out of your garden. It is easy to make one in just a few quick steps.
Things to consider before building a Raised Bed Garden
Location
Typically, you will want to choose an area that enjoys the most sun. However, if you will be growing plants that require shade, choose a shaded area.
Number of beds
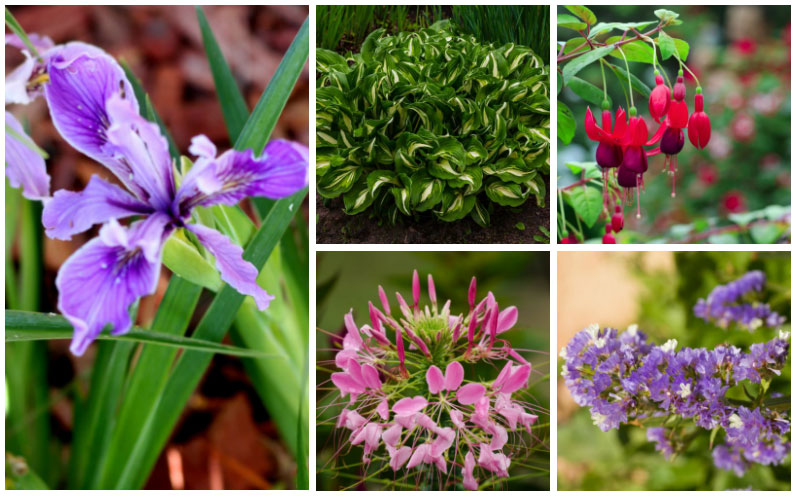
Depending on what you are planting you may want to choose one big bed, as this can be less expensive. If you choose a few smaller beds, make sure to plant similar plants in each bed.
Size
Stick to a maximum width of three feet. Any wider can be difficult to manage.
Material
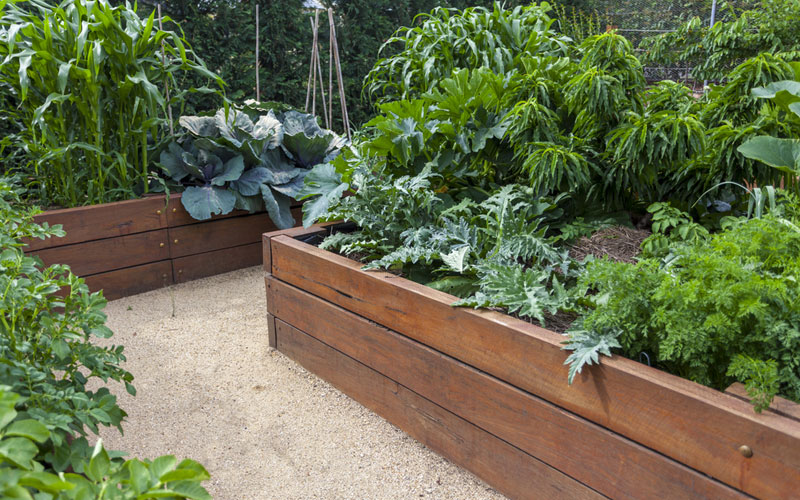
Options include treated wood, recycled wood, untreated wood, and concrete. If you choose treated wood, be sure to use MCA (micronized copper azole) or ACQ (alkaline copper quaternary) pressure-treated wood. Both contain copper compounds as wood preservatives and are considered safe to use around food. If you have any concern regarding copper leaching into the soil, use heavy plastic sheeting to line your bed’s interior sides, or use cedar or redwood instead. Do not use wood treated with creosote. It is a potential carcinogen that can leach into the soil.
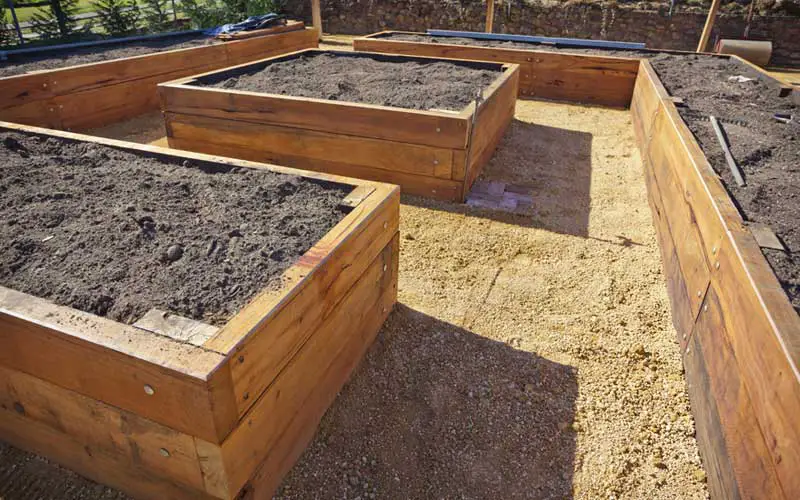
Building the frame
It is recommended that you build a frame at least 6 inches in height because this gives the root systems plenty of room to grow. Additionally, at this height, the frame is easier to access.
The following steps can be used for any size bed. However, these instructions assume a 4-foot by 6-foot by 10-1/2-inch bed with 2-inch x 4-inch posts.
Step 1 – Measure and mark the length you have chosen for the walls, and cut each board to size. Some raised beds involve posts being sunk into the ground for extra stability. These posts can be located on the inside corners or along the side walls at the halfway mark.
However, using posts in this fashion can reduce the outward pressure that a bed will exert on the frame. Consequently, the wood will eventually dislodge.
As an alternative to posts, you can use a cap rail, which runs across the top and holds the bed together. If you do choose to include posts, cut them to the height of the wall.
Step 2 – Using clamps, fasten the walls together in the shape of the frame. Put the posts on top of the wall boards, keeping them flush with the ends of the 6-foot walls. Set the posts back 1-1/2 inches from the end point of the 4-foot walls. To attach the posts, drill pilot holes. Once the pilot holes are drilled, secure with screws.
Step 3 – Again, drill pilot holes. Then, using screws, connect the sides to make a box. Make sure to place the posts on the inside of the bed.
Location preparation
Step 1 – Put the frame in the location you have chosen, and make an outline, using chalk, a chalk-line reel, or a shovel. Choosing an area consisting of deep soil rather than one located on a hard surface. Doing so will help considerably in terms of drainage and root growth.
Step 2 – Move the frame and dig up the grass for later removal. Make sure to loosen the dirt to facilitate root growth. Use a spading fork to aid in loosening the dirt.
Step 3 – Staple wide-mesh hardware cloth to the bottom portion of the frame. The mesh allows passage of earthworms, which help enrich the soil. Additionally, the mesh prevents the growth of pesky weeds. If you prefer, you can use landscape fabric or newspaper to block weed infestations.
Step 4 – If you have chosen wood that is not resistant to rot, you need to make sure to staple a heavy, plastic tarp along the interior of the walls before you add soil.
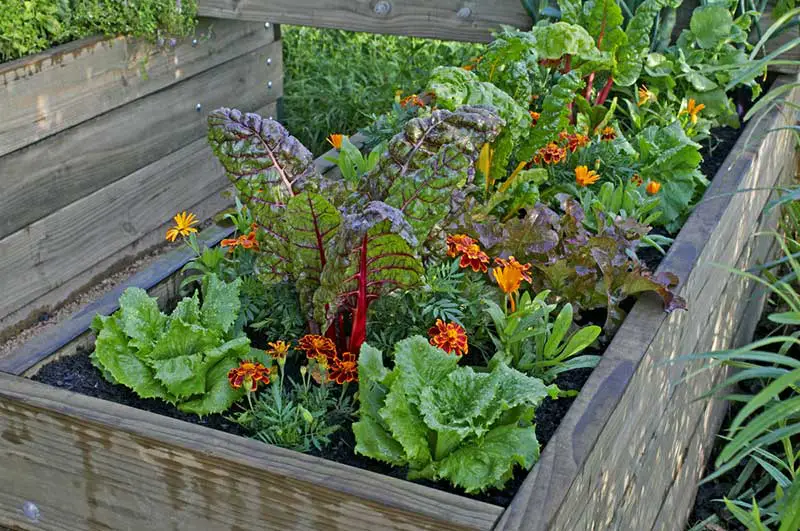
Soil and plants
Step 1 – Mix any type of compost with nutrient-rich soil, and fill up the bed.
Step 2 – Make individual holes for each plant. Set them in place, making sure to keep the soil loose around each plant. Keeping the soil loose during planting helps ensure water will reach the roots.